Page Contents
In this short article we will cover – How to Add Facebook Pixel to WordPress ? How to create a Facebook pixel in Facebook Business Manager and also learn how to Add and Install the pixel on your website.
I am your host Navjot Virk. Let’s, start with core basics and move forward
What is Facebook Pixel ?
Facebook pixel is a small piece of javascript code that you place in the head tag of your website in the backend to track visitors to your website.
What are the benefits of using a Facebook Pixel ?
The Facebook pixel allows you to run highly targeted ads and campaigns, to give you the best value out of your money, so it’s important to install it before running Facebook ads, if you are looking to get better results on your campaigns.
Video Tutorial
Step by Step – How to Create Facebook Pixel ?
Please note: Facebook keeps updating their User Interface (UI) and Menus so its hard to catchup with that but the steps still work if the UI changes in future from whats covered in screenshots and video)
Step 1: Login to Facebook Business Manager
Step 2: Go to Event Manager
Step 3: Click > Add new Data Source > Facebook Pixel

Step 4: Enter a Name for Pixel

Step 5: Click the Create Button
This will create a pixel for you. Half the Job is done. You have sucessfully created a facebook pixel, now the next step is to install or add it to your website.
How to Add Facebook Pixel to WordPress without Plugin ?
Now, once your have created the pixel its time to implement it on your wordpress website, their are several ways to do it – to name a few – manually (this is what we are going to do in this step), using google tag manager or the facebook pixel plugin.
Step 6: Click Set > up Pixel

This will bring a new popup window on the screen, mentioning all the available ways to Add pixel to your website.
Step 7: Click > Manually Install Pixel Code Yourself

This brings a window with Pixel code and also steps to help you install it.
Step 8: Copy the Pixel code

Step 9: Add Facebook Pixel Code to Head Tag of your WordPress website using Steps in the Video below
Steps to Install Facebook Pixel on WordPress.
Login to your WordPress Website Dashboard
Hover ove Appearance Tab
Click > Editor
This will open a file editor
Choose header.php file
Add Pixel code before the closing of head tag </head>
Here is the full article to help you add your Facebook pixel to your WordPress website Head Tag.
Testing the Pixel
Step 10: Test if the Pixel is Implemented Correctly
Enter the website URL you implemented the pixel on and click > Send Test Traffic

or you can also download – Facebook Pixel Helper (Browser Plugin) which lights up when a pixel fires on a website.

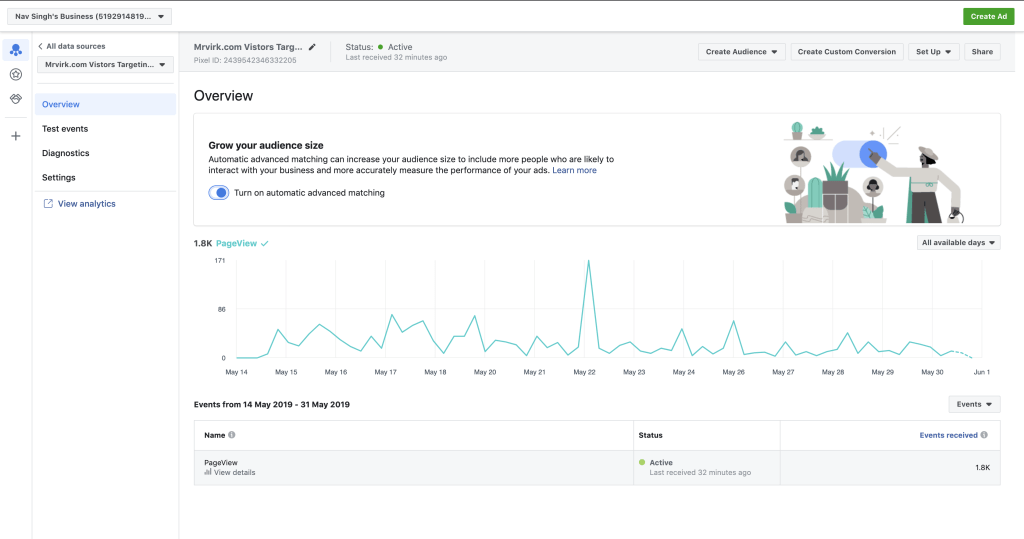
Example – Facebook Pixel with data and ability to create audience

Hope the article helped solve some of the problem for you if not all, please share it on your favourite social network and leave a comment below with any questions you may have.
Related Tags:
This article is applicable for all these related terms: Create Facebook Pixel, how to install facebook pixel, facebook pixel wordpress

